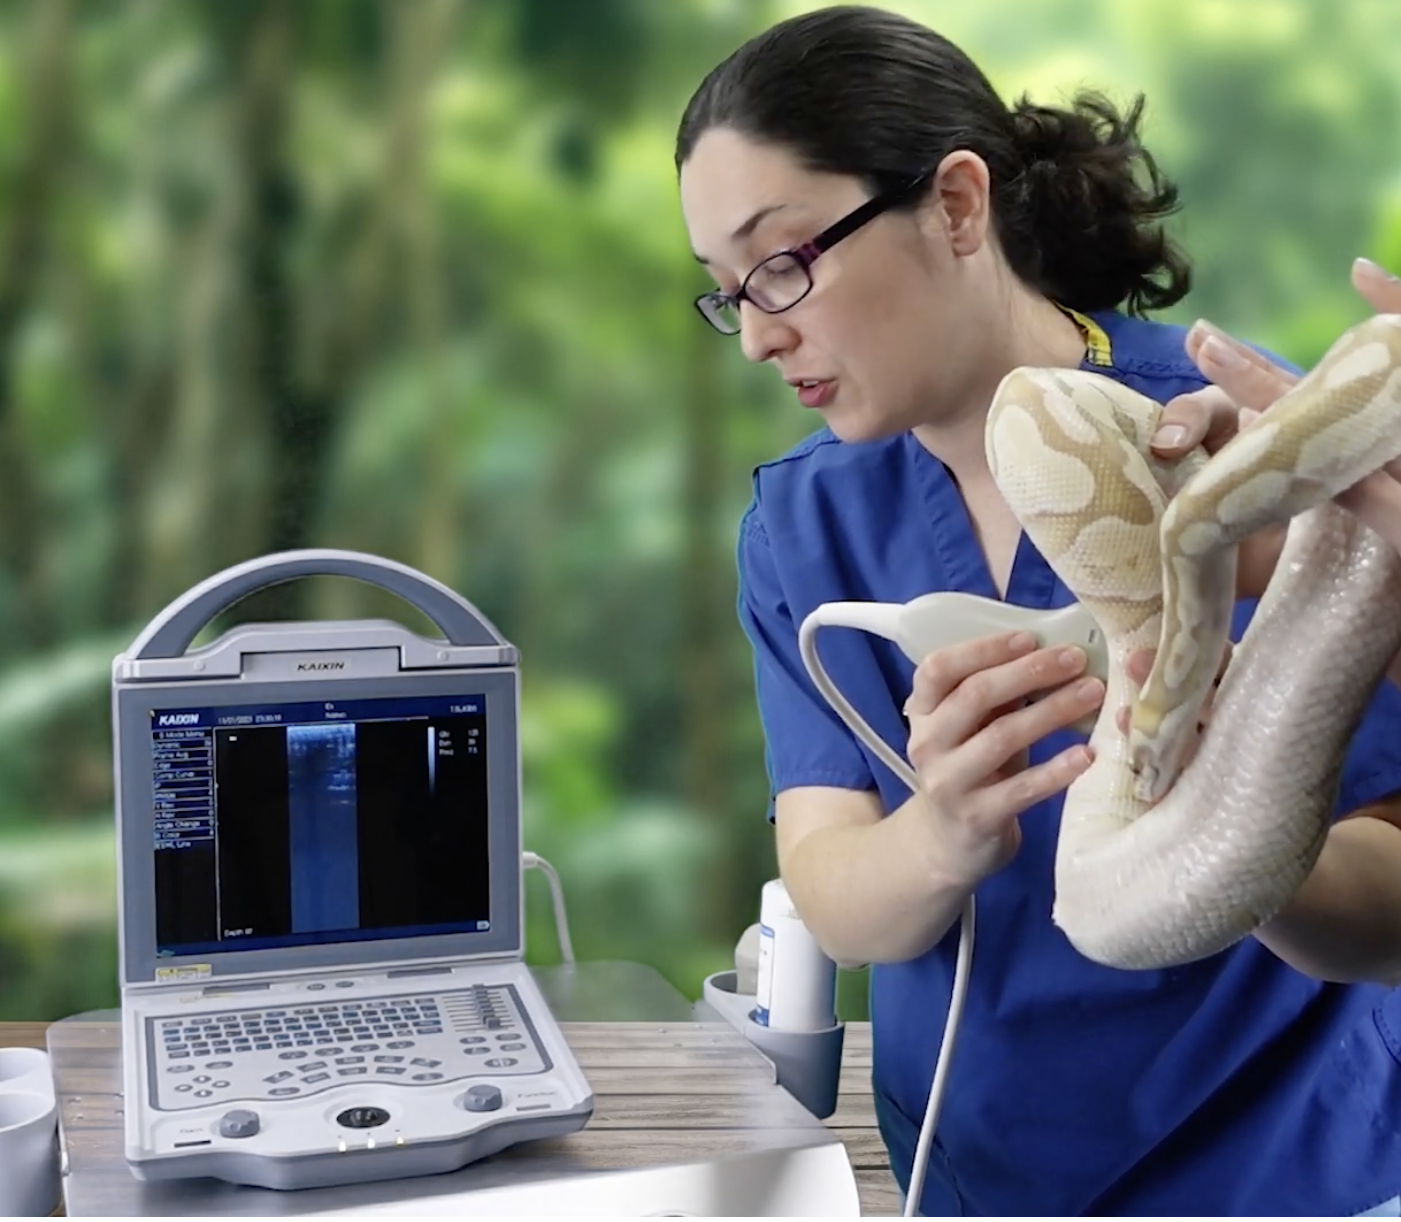
If you’ve ever stared at your ultrasound machine wondering where to begin, you’re not alone. Whether you’re completely new to scanning or picking it up again after a break, it’s totally normal to feel intimidated by all the buttons and wonder where to start.
The truth is, you don’t need to master everything at once. By focusing on just three key controls, you can dramatically improve your images and your proficiency almost immediately. These simple adjustments form the foundation of confident, effective scanning.
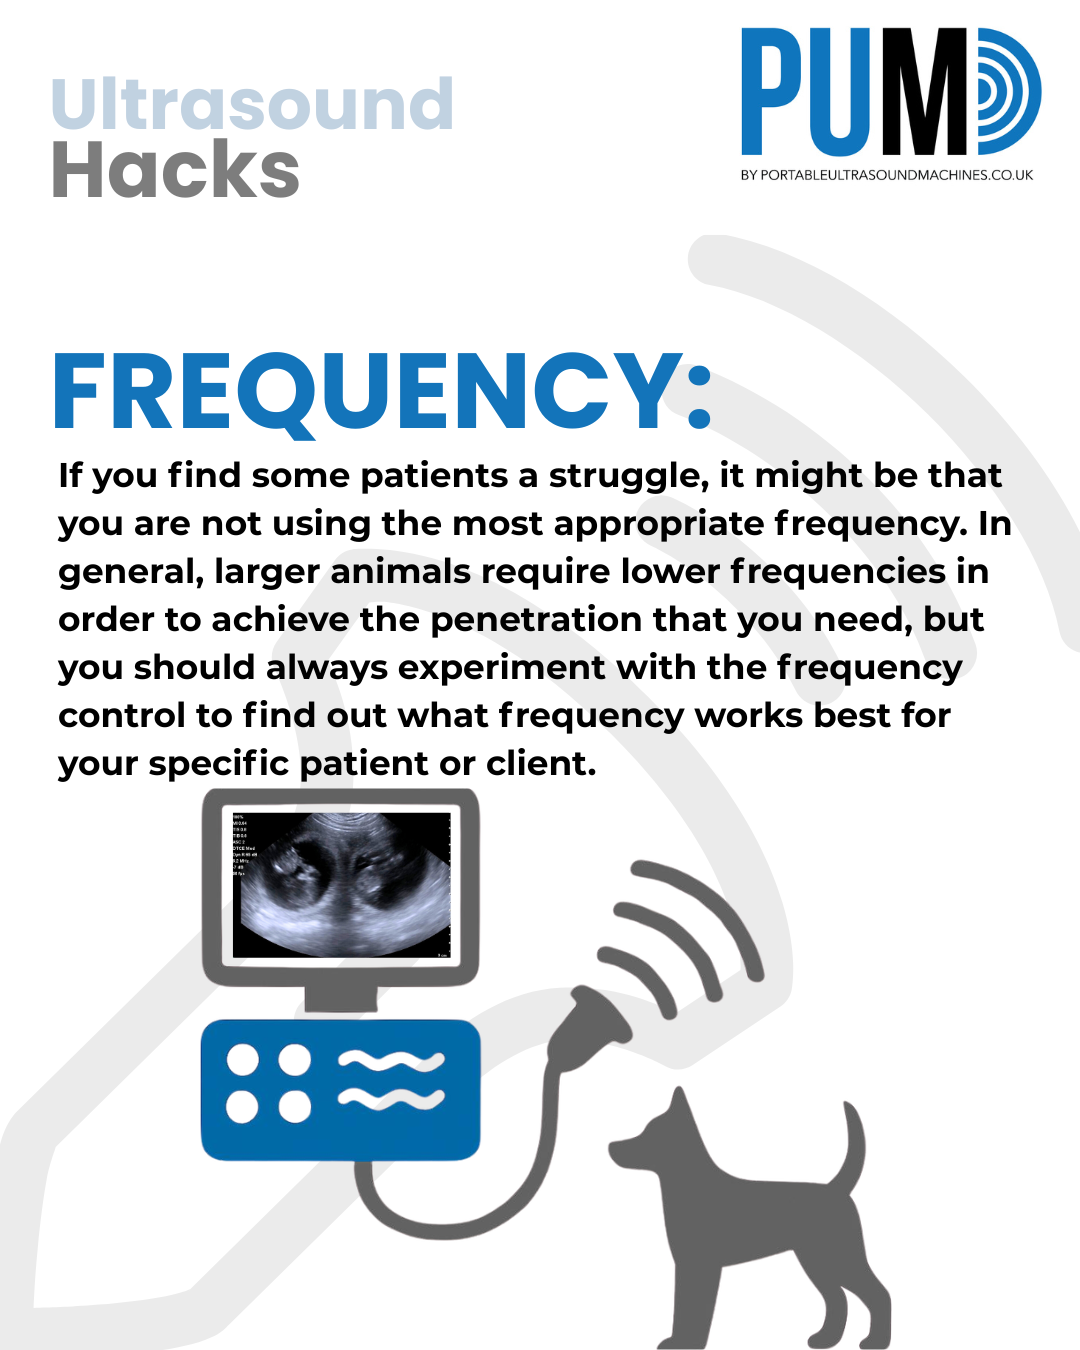
Frequency is one of the most powerful tools for improving image clarity, yet it is often overlooked.
In simple terms:
Think about the size of the animal you’re scanning:
By deciding your frequency before you even begin scanning, you set yourself up for clearer, more useful images from the outset.
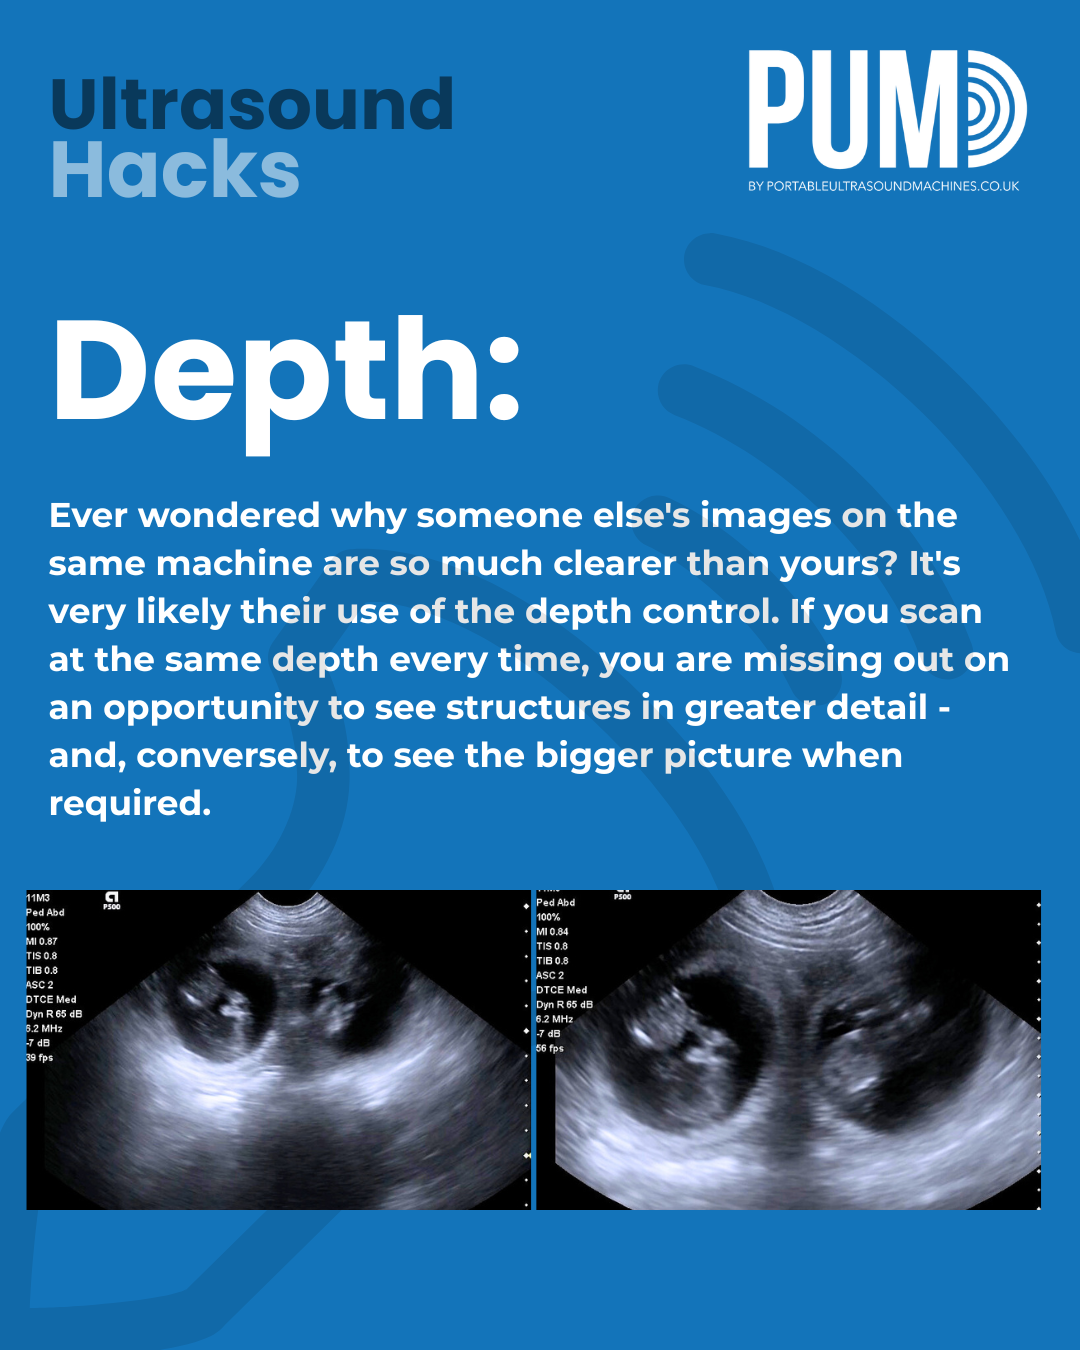
Depth controls how much of the body you can see on your screen, much like zooming in and out on a camera.
Use it to:
For example, you might zoom in to closely examine a gestation sac, then zoom out to see how it relates to surrounding anatomy.
Depth is something you will adjust constantly during a scan, so getting comfortable with it early will make your workflow smoother and more intuitive.
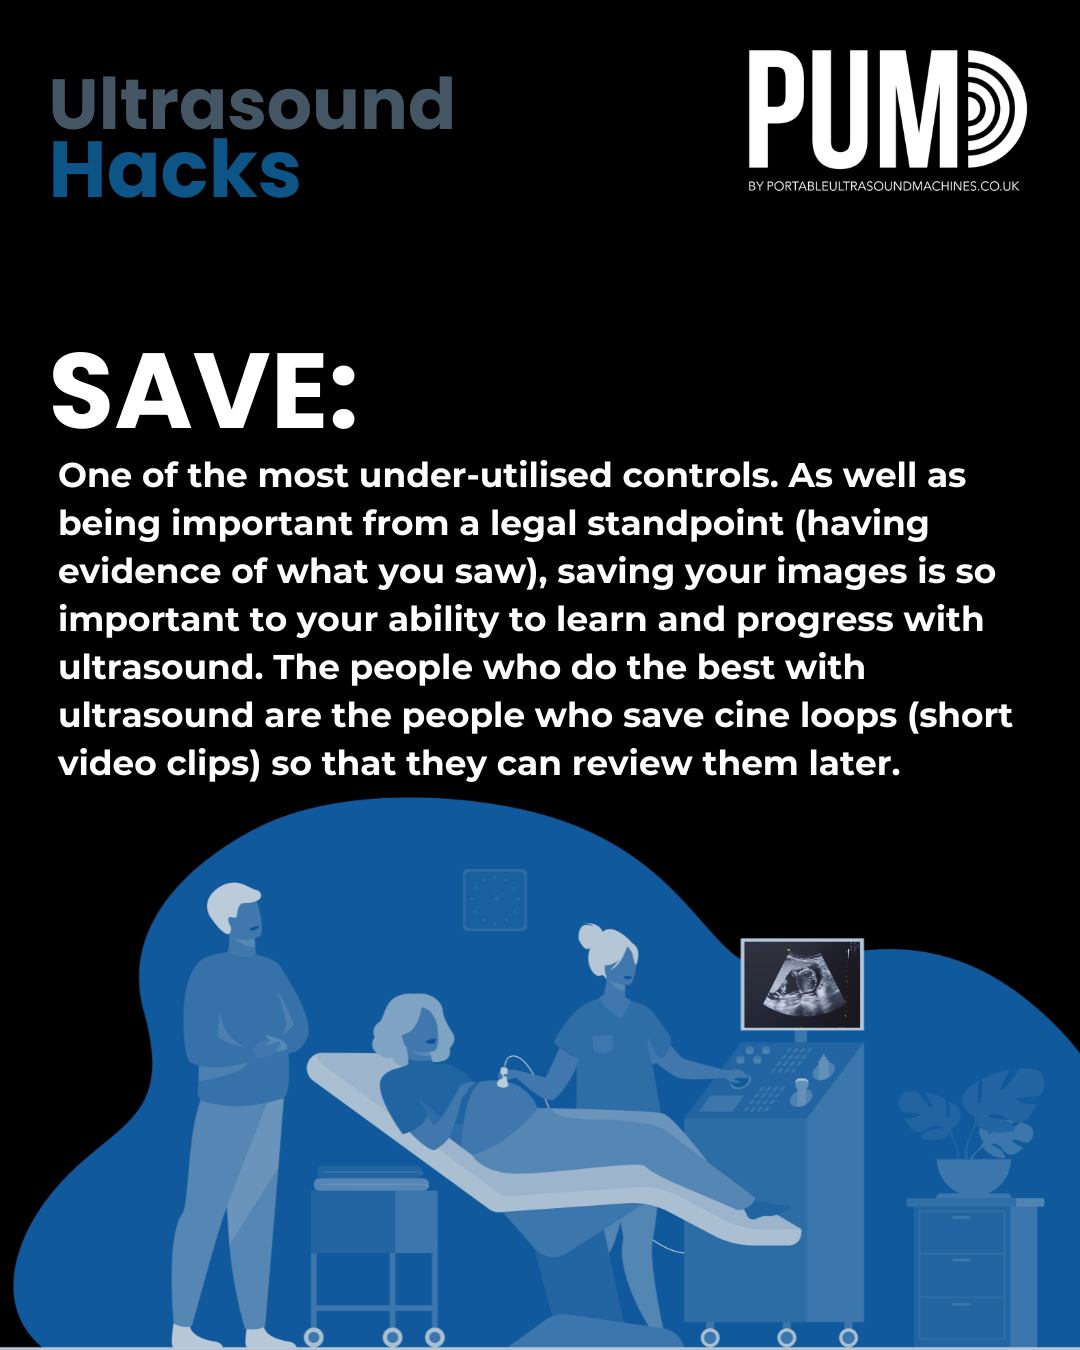
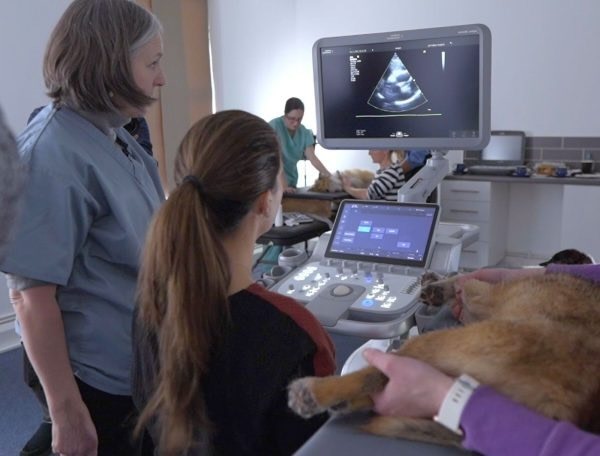
One of the most underused features on any ultrasound machine is the Save function, yet it is one of the most valuable.
Saving your images and cine loops (short video clips) allows you to:
The most successful scanners are not just those who scan often, but those who review what they’ve done. Taking a few seconds to save key moments can significantly accelerate your learning and development.
Wherever you are on your ultrasound journey, you don’t have to figure it all out on your own. Some of our customers are seasoned professionals that know exactly what their machine requirements are, while others are starting from scratch and aren’t quite sure where to begin with equipment and require scanning training; both are absolutely welcome!
If you’re new to ultrasound, it’s always worth having a conversation before investing in a machine. A quick chat can help you choose the right setup for your needs and avoid common early frustrations. We’re always happy to talk things through and point you in the right direction.
Some of the best learning happens when you take the pressure off and just spend time getting familiar with your machine by popping the probe on a calm, cooperative animal to start exploring. Play with the settings, adjust your depth, switch your frequency, and see what changes. The more you do it, the more natural it will feel and you’ll quickly start recognising structures without second-guessing yourself.
If things still aren’t clicking, that’s completely normal. Ultrasound is a skill, and like any skill, it takes a bit of guidance as well as practice.
If you ever feel stuck, we’re always here to help– to offer advice, talk through what you’re seeing, or help you troubleshoot. Sometimes a quick conversation is all it takes to get you back on track and scanning with confidence again.